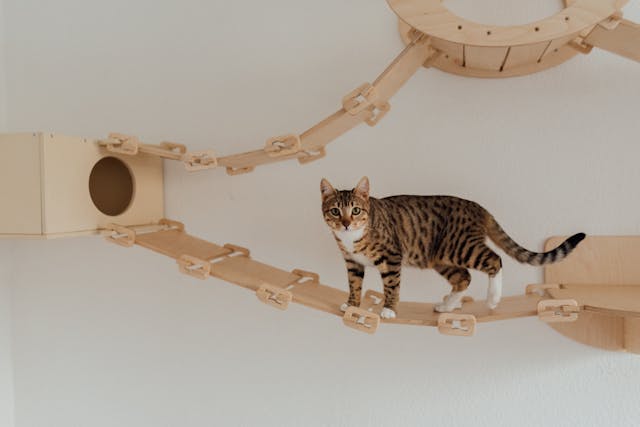
By Fur-Tales Team
How to Make a DIY Cat Tree on a Budget
Cats love to climb, scratch, and perch up high, making a cat tree an essential piece of furniture for any feline household. However, store-bought cat trees can be expensive. The good news is that you can make a DIY cat tree on a budget using simple materials, creativity, and a little effort. Here’s a step-by-step guide to creating a cost-effective and sturdy cat tree for your furry friend.
1. Planning Your DIY Cat Tree
Consider Your Cat’s Needs
- Cats love to scratch, climb, and nap, so include multiple levels, scratching posts, and cozy resting spots.
- Consider your cat’s size and weight to ensure stability.
- If you have multiple cats, plan a larger tree with multiple platforms.
Choose the Right Location
- Pick a spot near a window for your cat to enjoy outside views.
- Ensure enough space for a stable base.
2. Materials You’ll Need
Most materials can be repurposed or purchased inexpensively:
- Wooden Boards or Plywood – For platforms and base.
- PVC Pipes or Wooden Posts – For vertical supports.
- Carpet Scraps or Fabric – For covering surfaces.
- Sisal Rope – Ideal for wrapping around posts as scratching areas.
- Screws, Nails, and Wood Glue – For assembly.
- Brackets and L-Braces – To secure connections.
- Staple Gun & Staples – To attach carpet or fabric.
3. Step-by-Step Instructions
Step 1: Create a Sturdy Base
- Cut a large piece of plywood (at least 24” x 24”) to serve as the base.
- Attach rubber feet or felt pads to prevent floor damage.
- If using heavy materials, consider adding weight to the base for extra stability.
Step 2: Attach Vertical Posts
- Use PVC pipes or wooden posts to create climbing supports.
- Secure them to the base using screws and L-brackets.
- Wrap the posts with sisal rope, securing it with glue or staples to create scratching areas.
Step 3: Add Platforms & Shelves
- Cut wooden boards into different shapes for platforms.
- Secure them at different heights using screws and brackets.
- Cover platforms with carpet or soft fabric for comfort.
Step 4: Add Cozy Features
- Hammocks: Use fabric and a wooden frame to create a suspended hammock.
- Cubby Holes: Attach small wooden boxes or baskets as enclosed sleeping areas.
- Dangling Toys: Hang small plush toys or strings for interactive play.
Step 5: Secure and Test
- Ensure all screws and nails are tightened to prevent wobbling.
- Test the stability by gently pushing on the structure before letting your cat explore.
4. Budget-Saving Tips
- Repurpose Materials: Use old furniture, shelves, or crates instead of buying new wood.
- Look for Freebies: Check online marketplaces or home improvement stores for free carpet scraps and wood.
- DIY Sisal Wrapping: Instead of buying expensive scratching posts, wrap sisal rope around existing furniture legs.
5. Maintenance & Safety Tips
- Regularly check for loose screws or worn-out materials.
- Vacuum and clean surfaces to remove fur and dust.
- Ensure the cat tree is placed in a stable area to prevent tipping.
Photo by Arina Krasnikova
